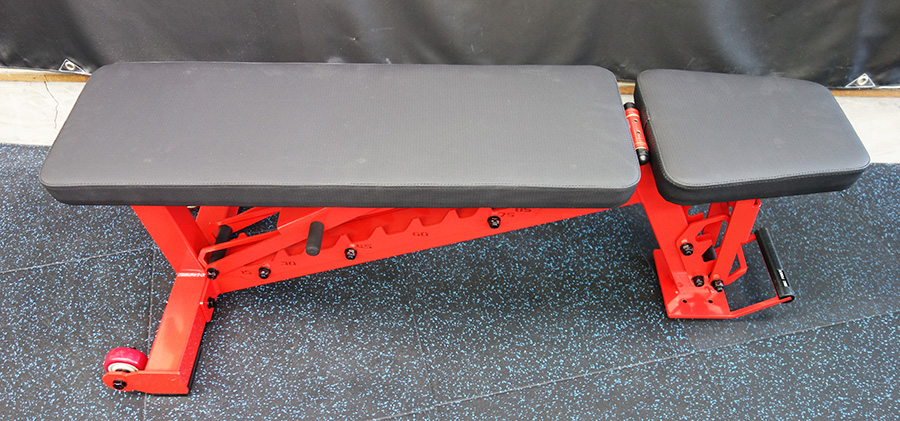
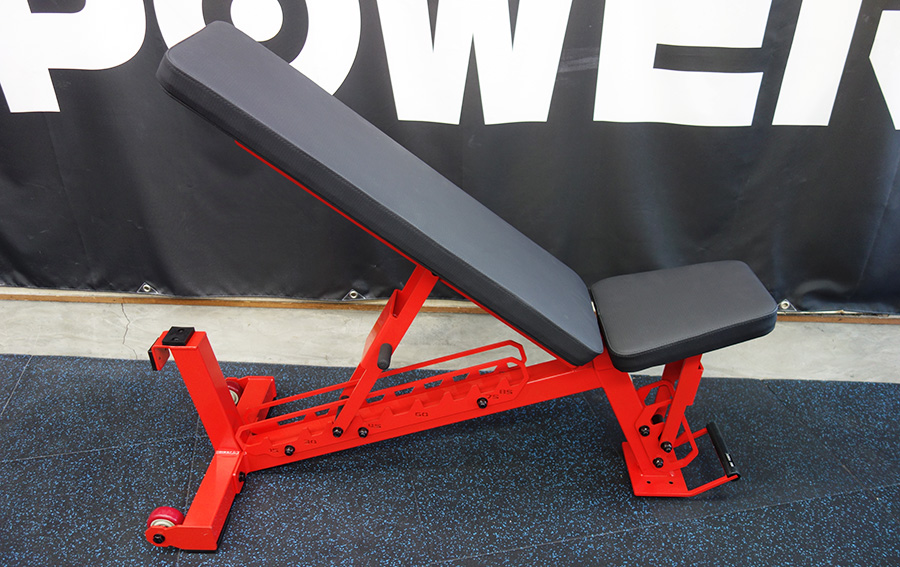
[About assembly]
The MBC Adjustable Bench is delivered partially disassembled and requires assembly by the customer.
Precautions when assembling
*Assembly instructions are included with the product.
*Please be careful not to injure yourself by pinching your fingers in the moving parts.
*During assembly, iron sand and small brown or white debris may come out from inside the frame. This is residue left inside the frame when the metal is primed before painting, and does not adversely affect durability or pose any danger in use. If there is iron sand or small debris left inside the frame, please remove it from the holes in the frame before assembly. (We have requested the manufacturer to ensure that this is removed properly before packaging.)
*If the bolts securing the seat to the frame are tightened too much, the screw holes on the seat side may be damaged. Please do not use power tools; use hand tools to assemble.
*The tools necessary for assembly are included with the product, but they are simple and there may be rare cases where the hex wrench has a small burr and cannot be inserted into the hex hole.
If you are unable to assemble the product using the tools provided, please prepare the tools listed below.
- 1 x 6mm hex wrench
- 1 pair of 19mm spanners/wrenches
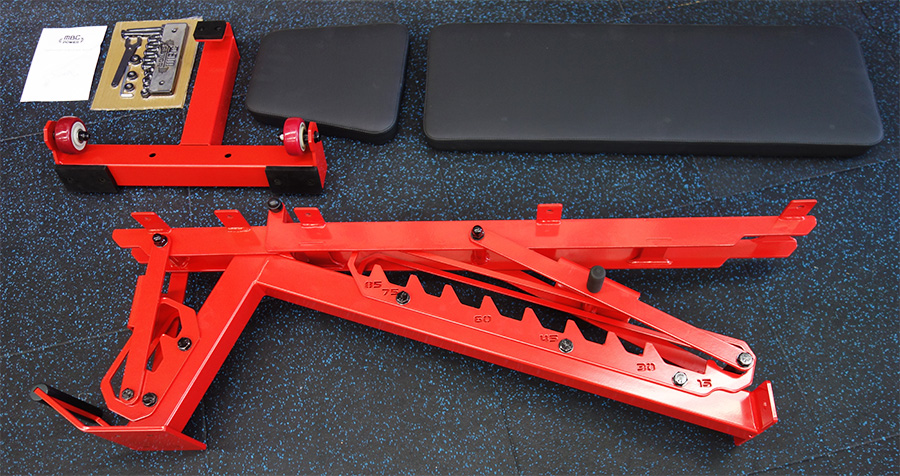
Assembly step 1, unpacking
The adjustable bench is disassembled and packed in two boxes. You will need scissors to open the boxes, so be careful not to cut your hands.
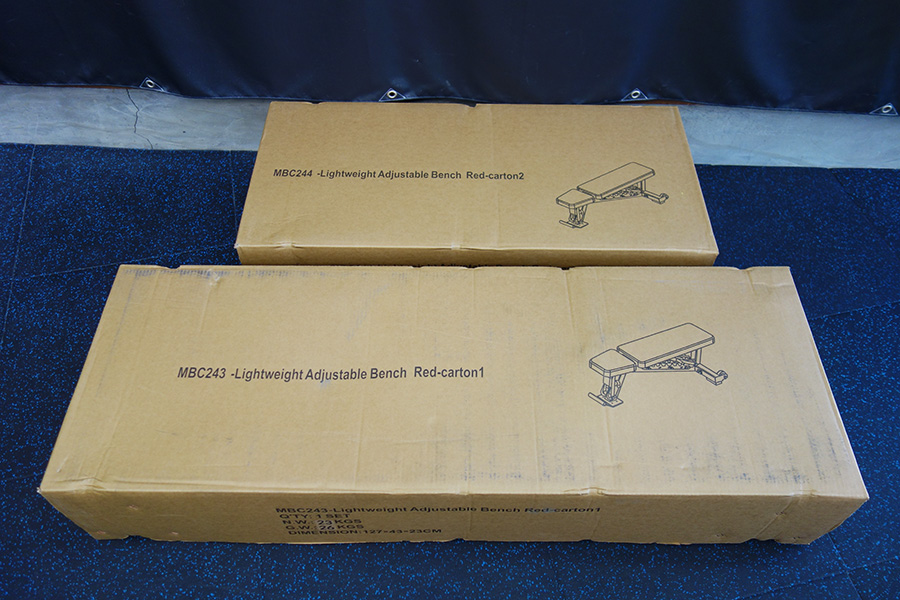
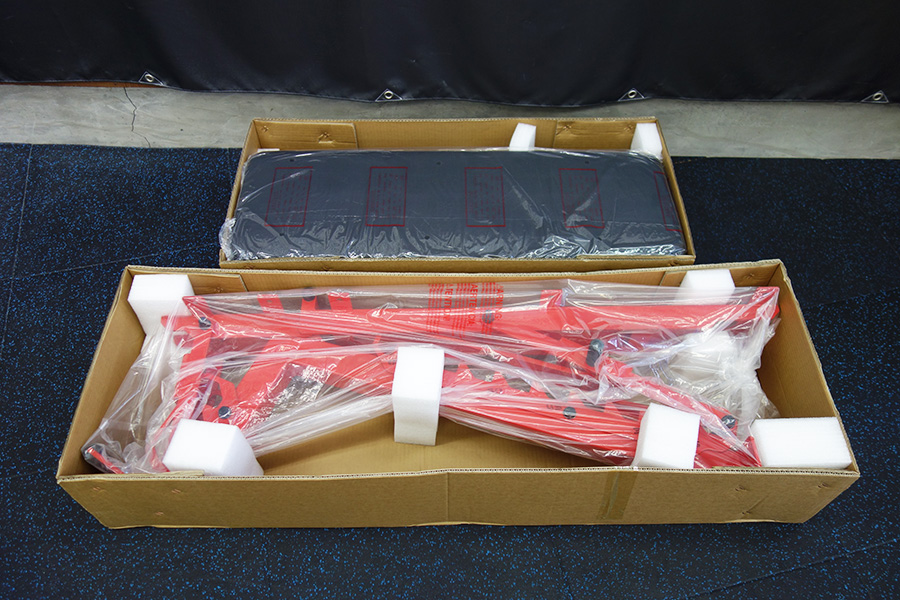
The following parts are included in the box:
・Mainframe x 1
・Rear frame x 1
・Back pad x 1
・Seat pad x 1
・Bolt set (including logo plate, rubber feet, and tools) x 1
・Instruction manual x 1

Assembly process 2: Assembling the frame
The main frame and rear frame are connected. At this time, the metal of the main frame connection may be slightly warped, but it will become straight once the bolts are tightened.
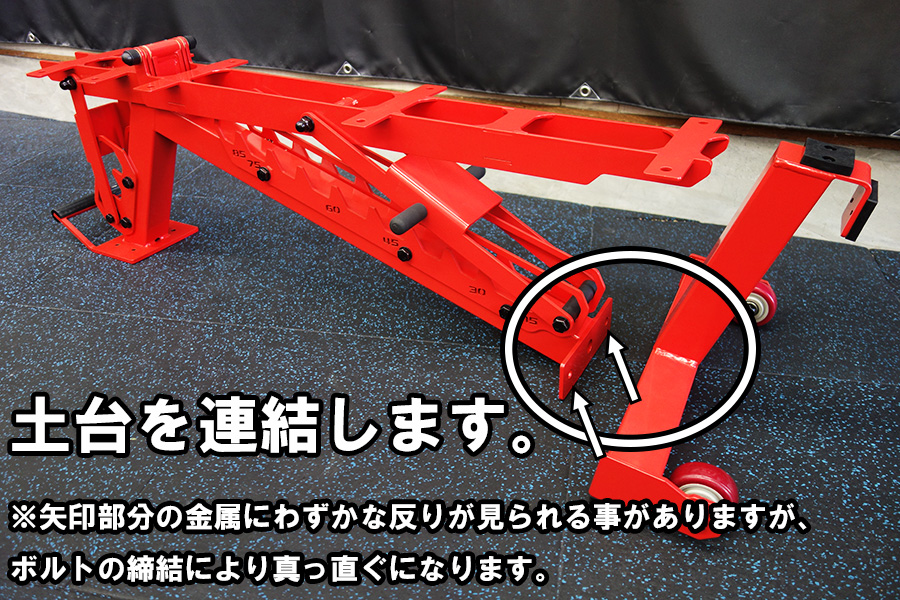
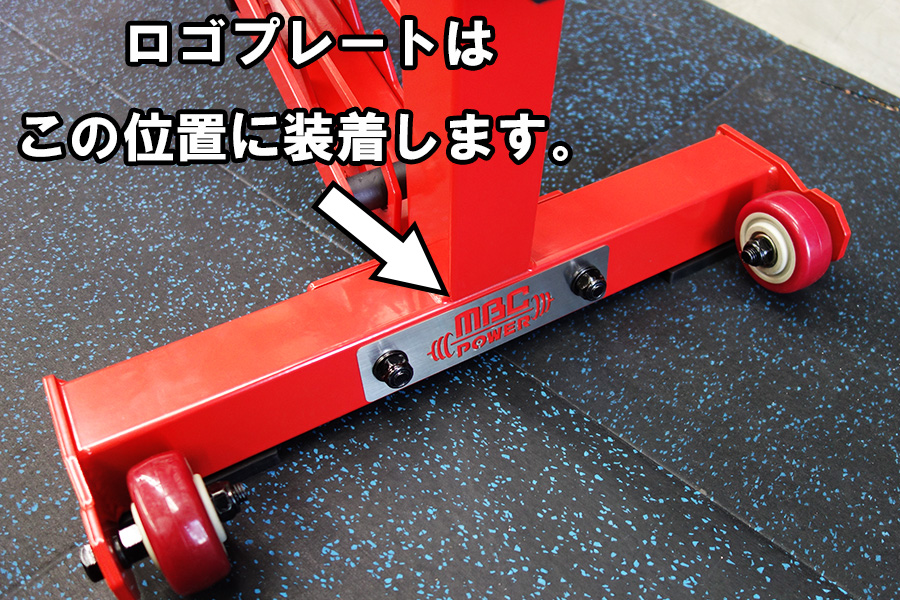
When connecting the frames, attach the logo plate as you like. (It is not related to the function, so there is no problem if you do not attach it.)
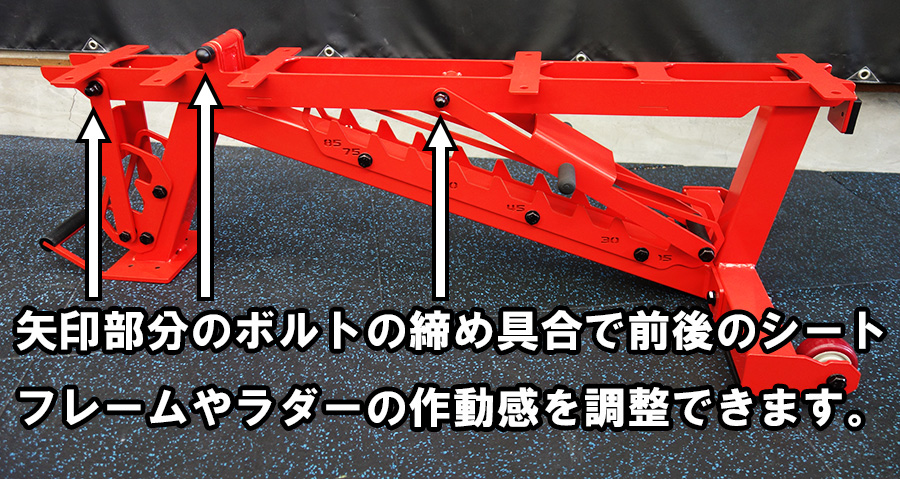
After assembling the frame, please check that the bolts indicated by the arrows in the image below are not loose. Looseness in these parts can cause the frame or ladder to wobble.
If it is loose, tighten it a little at a time while checking until there is no more wobble.
Conversely, if you feel that the frame or ladder movement is too stiff, loosen the bolts in these areas little by little, carefully checking, to adjust the feel of the movement.
A new adjustable bench has no movable parts yet, so there may be some strange noises or snagging when adjusting the angle of the back pad or seat pad. Any strange noises or snagging caused by the movable parts not being in contact will disappear naturally after a while of use, but if it bothers you, try oiling the movable parts.
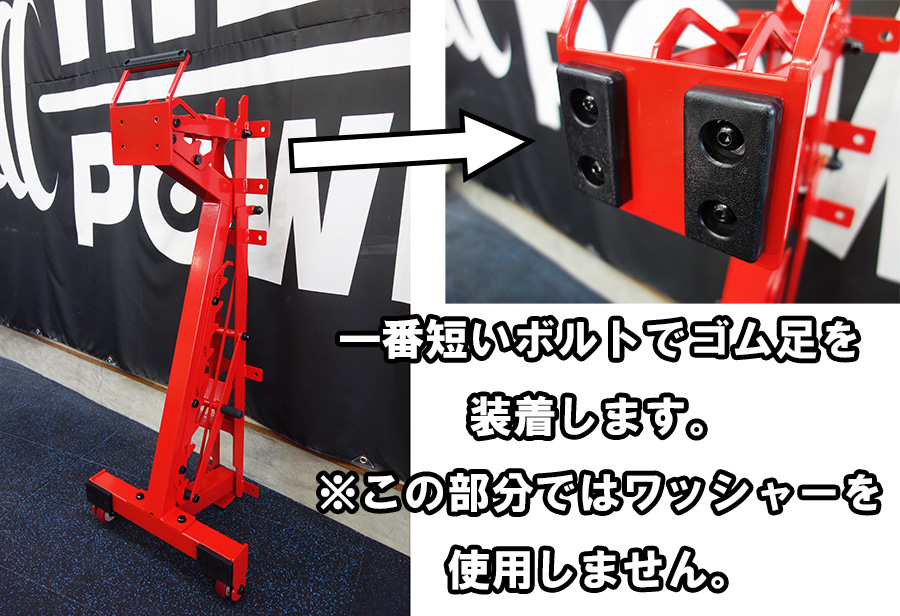
After connecting the main frame and rear frame, stand the frame up and attach the rubber feet under the front legs. No washers are used in this step. If you use washers by mistake, there will not be enough washers when you attach the pads, so please be careful.
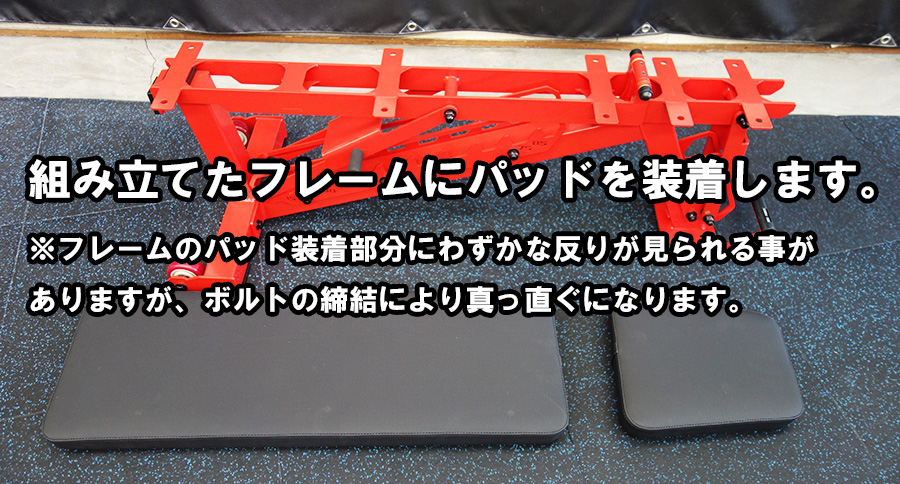
Assembly step 3: Installing the pads
Attach the seat pad and back pad to the assembled frame. At this time, you may notice a slight warp in the metal where the bolts are attached to the frame, but it will straighten out once the bolts are tightened.
Please be careful not to tighten the bolts that secure the pads too much with power tools, as this may damage the screw holes on the pads.